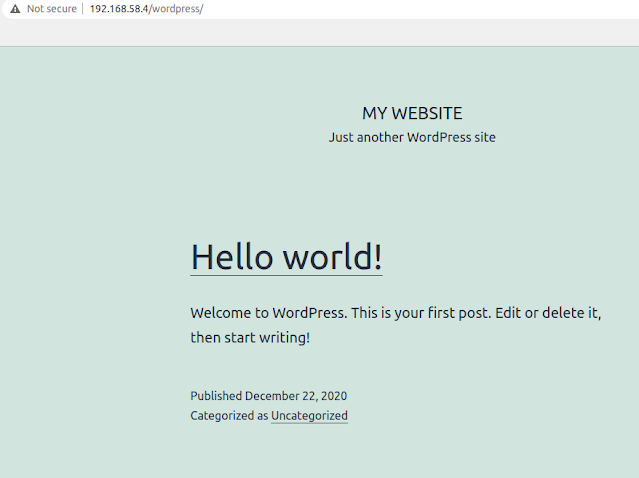
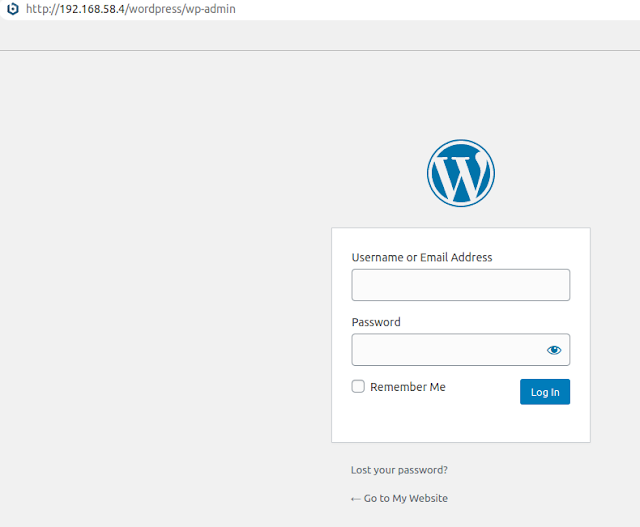
Bitnami team have done a great job in making the adoption of a lot of open source software easier. Today I want to show how you can install a bitnami wordpress stack on ubuntu 20.04.
First, we need to visit https://bitnami.com/stack/wordpress/installer, and download the installer for linux. As of today, the version available is 5.6.0.
$ wget -c https://bitnami.com/redirect/to/1252289/bitnami-wordpress-5.6-0-linux-x64-installer.run
Once downloaded, give the file permission to be executed
$ chmod +x bitnami-wordpress-5.6-0-linux-x64-installer.run
Run the installer
$ sudo sh bitnami-wordpress-5.6-0-linux-x64-installer.run
Run through the wizard. In this example, we will install just wordpress and mysql, with default option for most of the questions asked in the wizard.
Once the installation is complete, you will see below confirmation:


No comments:
Post a Comment